Before laying pavers, you need to prepare a solid foundation to ensure stability, durability, and proper drainage. The essential layers include a subgrade (compacted soil), a base layer (crushed stone or gravel), and a bedding layer (fine sand).
These layers work together to create a stable surface that prevents shifting, sinking, or cracking of the pavers over time.
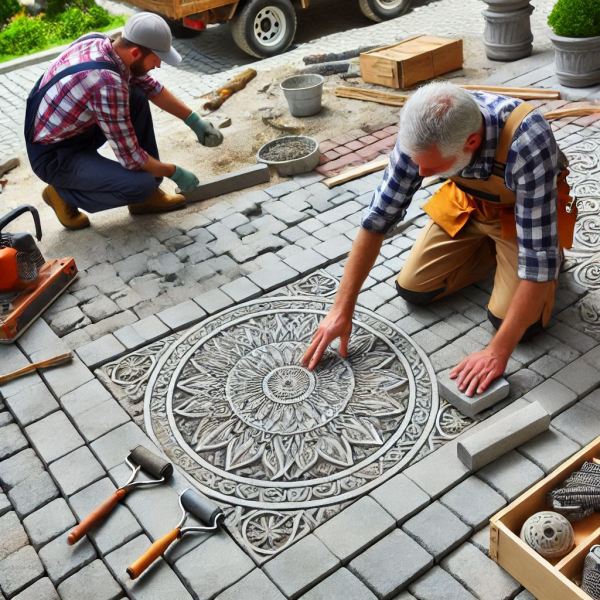
What to Put Down Before Laying Pavers? – A Step-by-Step Guide
Laying pavers is a great way to enhance your outdoor space, whether for a patio, walkway, or driveway. However, the key to a long-lasting and visually appealing paver installation lies in proper preparation. Here’s a detailed guide on what to put down before laying pavers:
1. Subgrade: The Foundation Layer
The subgrade is the natural soil or ground where your pavers will be installed. This layer must be properly prepared to ensure stability.
-
What to do:
-
Remove any grass, weeds, or debris from the area.
-
Excavate the soil to the required depth (usually 6–12 inches, depending on the project).
-
Compact the soil using a plate compactor to create a firm and level base.
-
-
Why it’s important: A well-compacted subgrade prevents the pavers from sinking or shifting over time.
2. Base Layer: Crushed Stone or Gravel
The base layer is the most critical part of the paver foundation. It provides strength, stability, and drainage.
-
What to use: Crushed stone or gravel (typically 3/4-inch aggregate).
-
What to do:
-
Spread a 4–6 inch layer of crushed stone evenly over the subgrade.
-
Use a rake to level the surface, ensuring a slight slope (1/4 inch per foot) for water drainage.
-
Compact the base layer thoroughly with a plate compactor.
-
-
Why it’s important: The base layer distributes weight evenly and prevents water from pooling under the pavers.
3. Bedding Layer: Fine Sand
The bedding layer is the final layer before laying the pavers. It provides a smooth, level surface for the pavers to rest on.
-
What to use: Coarse, sharp, or concrete sand (avoid fine sand as it can wash away).
-
What to do:
-
Spread a 1–2 inch layer of sand over the compacted base.
-
Use a screed board or pipe to level the sand, ensuring an even surface.
-
-
Why it’s important: The sand layer allows for minor adjustments during paver installation and helps lock the pavers in place.
4. Optional: Geotextile Fabric
For added stability and weed prevention, consider adding geotextile fabric between the subgrade and base layer.
-
What to do:
-
Lay the fabric over the compacted subgrade before adding the base layer.
-
Ensure the fabric overlaps at the seams to prevent soil from mixing with the base material.
-
-
Why it’s important: Geotextile fabric improves drainage and prevents weeds from growing through the pavers.
5. Edge Restraints: Securing the Pavers
Once the pavers are laid, edge restraints are essential to keep them from shifting.
-
What to use: Plastic, metal, or concrete edging.
-
What to do:
-
Install the edge restraints along the perimeter of the paved area.
-
Secure them with spikes or stakes to hold the pavers in place.
-
-
Why it’s important: Edge restraints maintain the integrity of the paved surface and prevent spreading over time.
Final Steps: Laying the Pavers
After preparing the layers, you’re ready to lay the pavers:
-
Start from one corner and work your way out, placing pavers in the desired pattern.
-
Use a rubber mallet to tap the pavers into place, ensuring they are level and snug.
-
Once all pavers are laid, spread fine sand over the surface and sweep it into the joints to lock the pavers together.
-
Compact the entire surface with a plate compactor to settle the pavers into the sand.
Conclusion
Proper preparation is the key to a successful paver installation. By following these steps—preparing the subgrade, adding a base layer, spreading a bedding layer, and securing edge restraints—you’ll create a durable and attractive paved surface that lasts for years.
Whether you’re building a patio, walkway, or driveway, taking the time to lay the right foundation will save you from costly repairs down the road.
Showing Our Popular Articles