06/01/2025 2:45 pm
Topic starter
Notifications
Clear all
ASK ANY QUESTION RELATING TO BUILDING CONSTRUCTION
0
Posts
1
Users
0
Reactions
1,249
Views
0
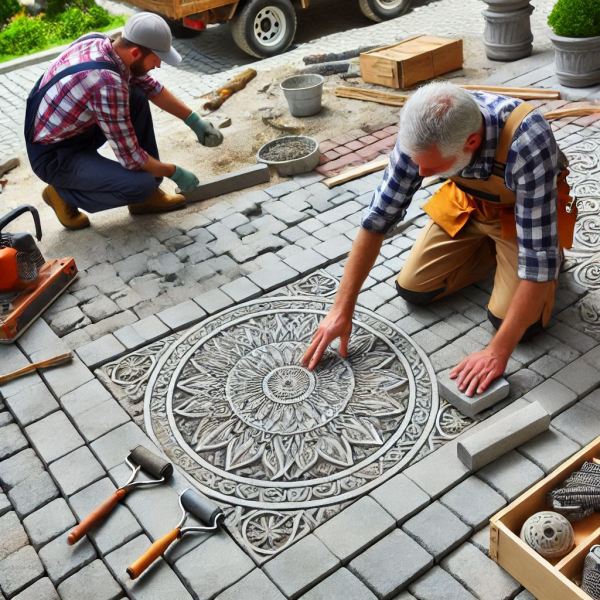
The easiest way to level the ground when creating a patio with paver bricks is to start by excavating the area, spreading a gravel base, and using a leveling screed and a plate compactor to ensure an even surface.
Adding a layer of paver sand over the compacted base and carefully checking the slope ensures proper leveling and drainage.
Why Leveling the Ground Matters
Creating a patio with paver bricks requires a stable and level base to ensure the pavers sit evenly, prevent shifting, and maintain durability over time. Proper leveling also ensures your patio drains water efficiently, avoiding pooling or damage.
Step 1: Plan and Prepare the Area
Proper preparation sets the foundation for a successful project.
-
Choose the Location:
- Select a flat area away from tree roots and major obstructions.
- Ensure the site allows for slight drainage away from structures to prevent water damage.
-
Mark the Area:
- Use stakes and string to outline the dimensions of your patio.
- Confirm the area is square by measuring diagonals; they should be equal.
-
Check the Slope:
- The patio should slope slightly away from the house, about 1 inch for every 4 feet of patio length.
Step 2: Excavate the Area
Digging out the ground is an essential step to create space for the base materials.
-
Dig to the Right Depth:
- Remove 6-8 inches of soil, accounting for the thickness of your gravel base, paver sand, and pavers.
- Use a spade or a shovel to dig evenly across the area.
-
Clear Debris:
- Remove rocks, roots, and weeds to ensure a clean surface for the base.
-
Smooth the Surface:
- Use a rake to smooth the bottom of the excavated area as much as possible.
Step 3: Lay the Gravel Base
The gravel base forms the foundation of the patio and ensures stability.
-
Spread the Gravel Base:
- Add 4-6 inches of gravel or crushed stone evenly across the excavated area.
- This layer provides drainage and prevents the patio from shifting.
-
Compact the Gravel:
- Use a plate compactor to compact the gravel until it is firm and level.
- Re-check the slope with a level or string to ensure proper drainage.
Step 4: Add the Paver Sand
The sand layer creates a smooth surface for laying the pavers.
-
Spread a Thin Layer:
- Add 1-2 inches of paver sand over the compacted gravel.
- Spread the sand evenly with a rake.
-
Level the Sand:
- Use a leveling screed (a straight board) to smooth the sand.
- Work in small sections to ensure consistent leveling.
Step 5: Lay the Paver Bricks
Once the base is level, you can start placing the pavers.
-
Lay the Pavers:
- Begin at one corner and work outward.
- Place each paver gently on the sand and tap it lightly with a rubber mallet to secure it.
-
Check the Level:
- Continuously check the level of the pavers as you go.
- Adjust by adding or removing sand as needed.
Step 6: Secure the Edges
Edge restraints keep the pavers in place and prevent shifting.
-
Install Paver Edging:
- Use plastic or metal edging to secure the perimeter of the patio.
- Anchor the edging with stakes driven into the ground.
-
Compact the Pavers:
- Run a plate compactor over the entire patio to settle the pavers into the sand.
- Fill any gaps with additional polymeric sand.
Tips for Leveling Success
- Use a long level or a string level frequently to ensure accuracy.
- Always slope the patio slightly away from buildings to avoid water pooling.
- Compact each layer thoroughly to prevent future settling.
Conclusion
Leveling the ground for a paver patio is an essential step that determines the patio’s durability and appearance. By excavating, adding a gravel base, leveling with paver sand, and carefully placing the pavers, you can create a stable and aesthetically pleasing patio.
Following these steps ensures your DIY paver patio will provide a lasting outdoor space for relaxation and entertainment.